


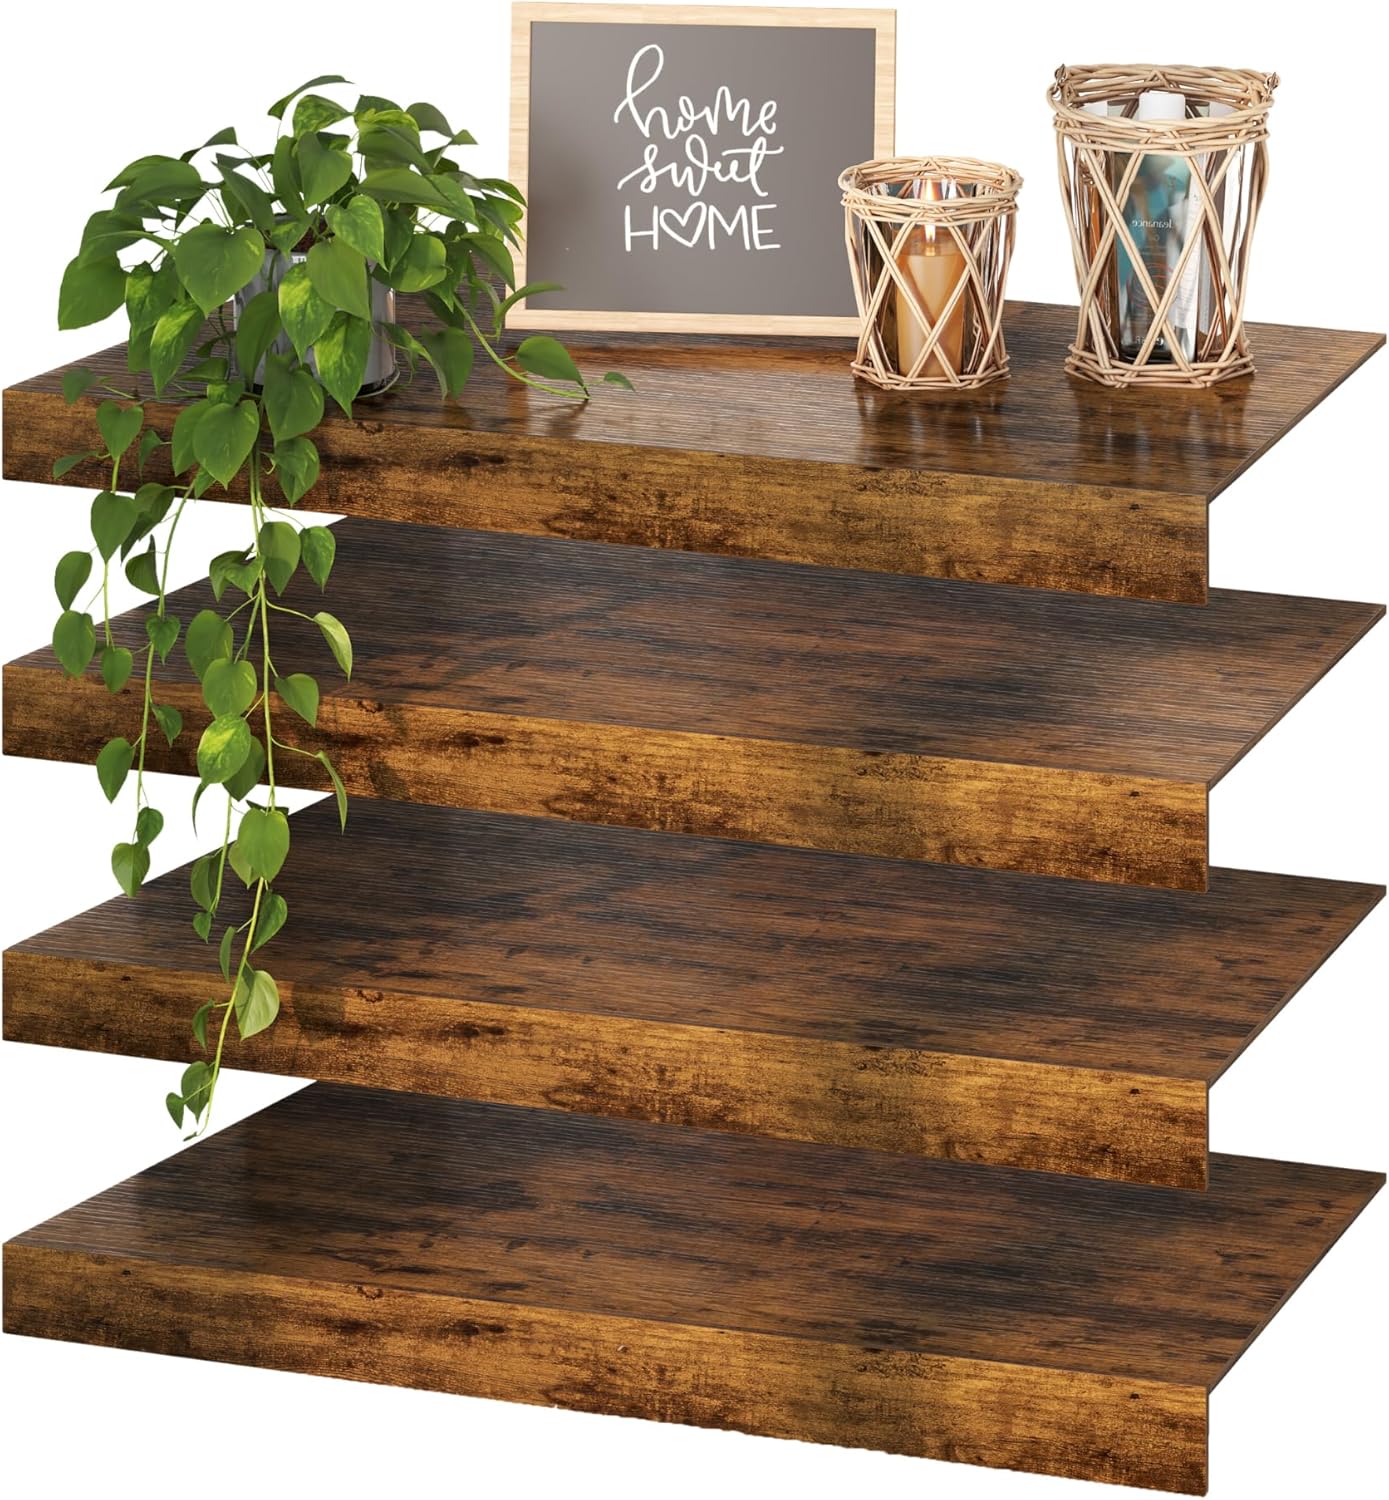


4 Pcs 27×16 Wire Shelf Cover – Engineered Wood Wire Rack Covers for Shelves, Rustic Farmhouse Style for Pantry, Closet (4 pcs, 27×16 inch)

 4.1 (30 items)
 Limited Time Sale
$39.59 cheaper than the new price!!
Free cash-on-delivery fees for purchases over $99
Product details
| Management number | 213096258 | Release Date | 2026/04/12 | List Price | $26.40 | Model Number | 213096258 | ||
|---|---|---|---|---|---|---|---|---|---|
| Category | |||||||||
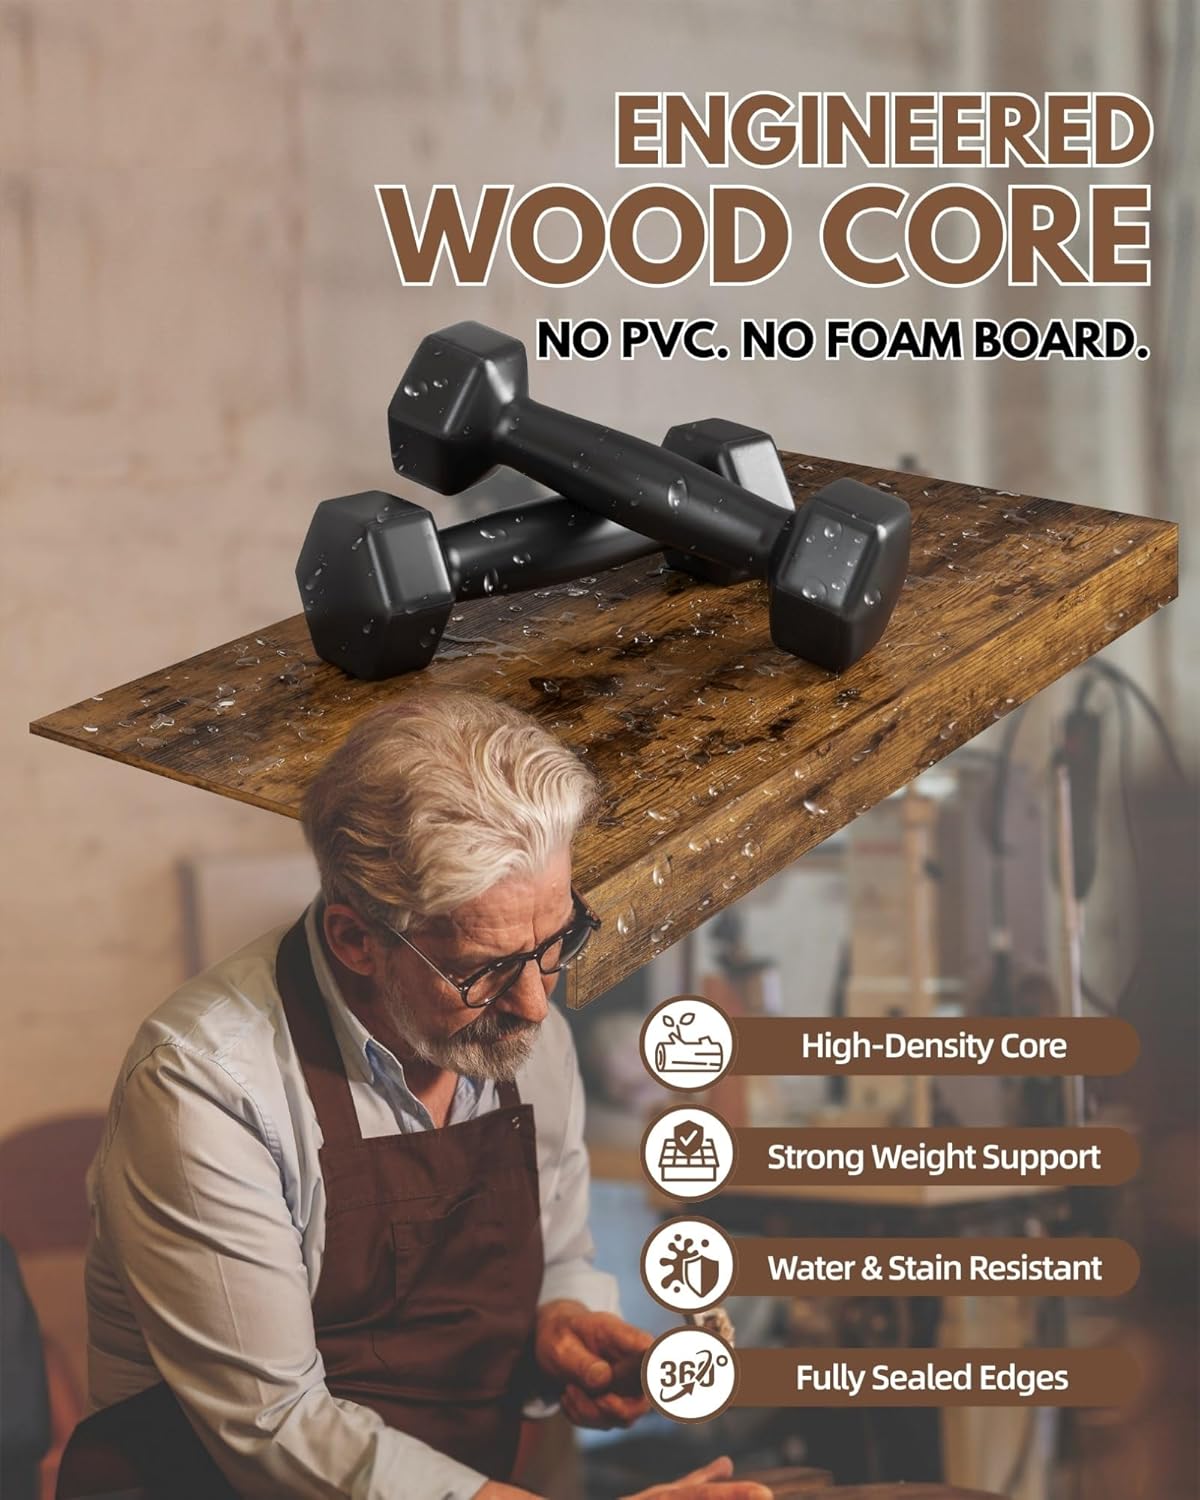
- [Durable Engineered Wood]: Made from high-density engineered wood, these wooden shelf covers for wire shelving resist dents and sagging under heavy items. A 4-pack fits standard 27×16 inch wire shelves with reliable strength
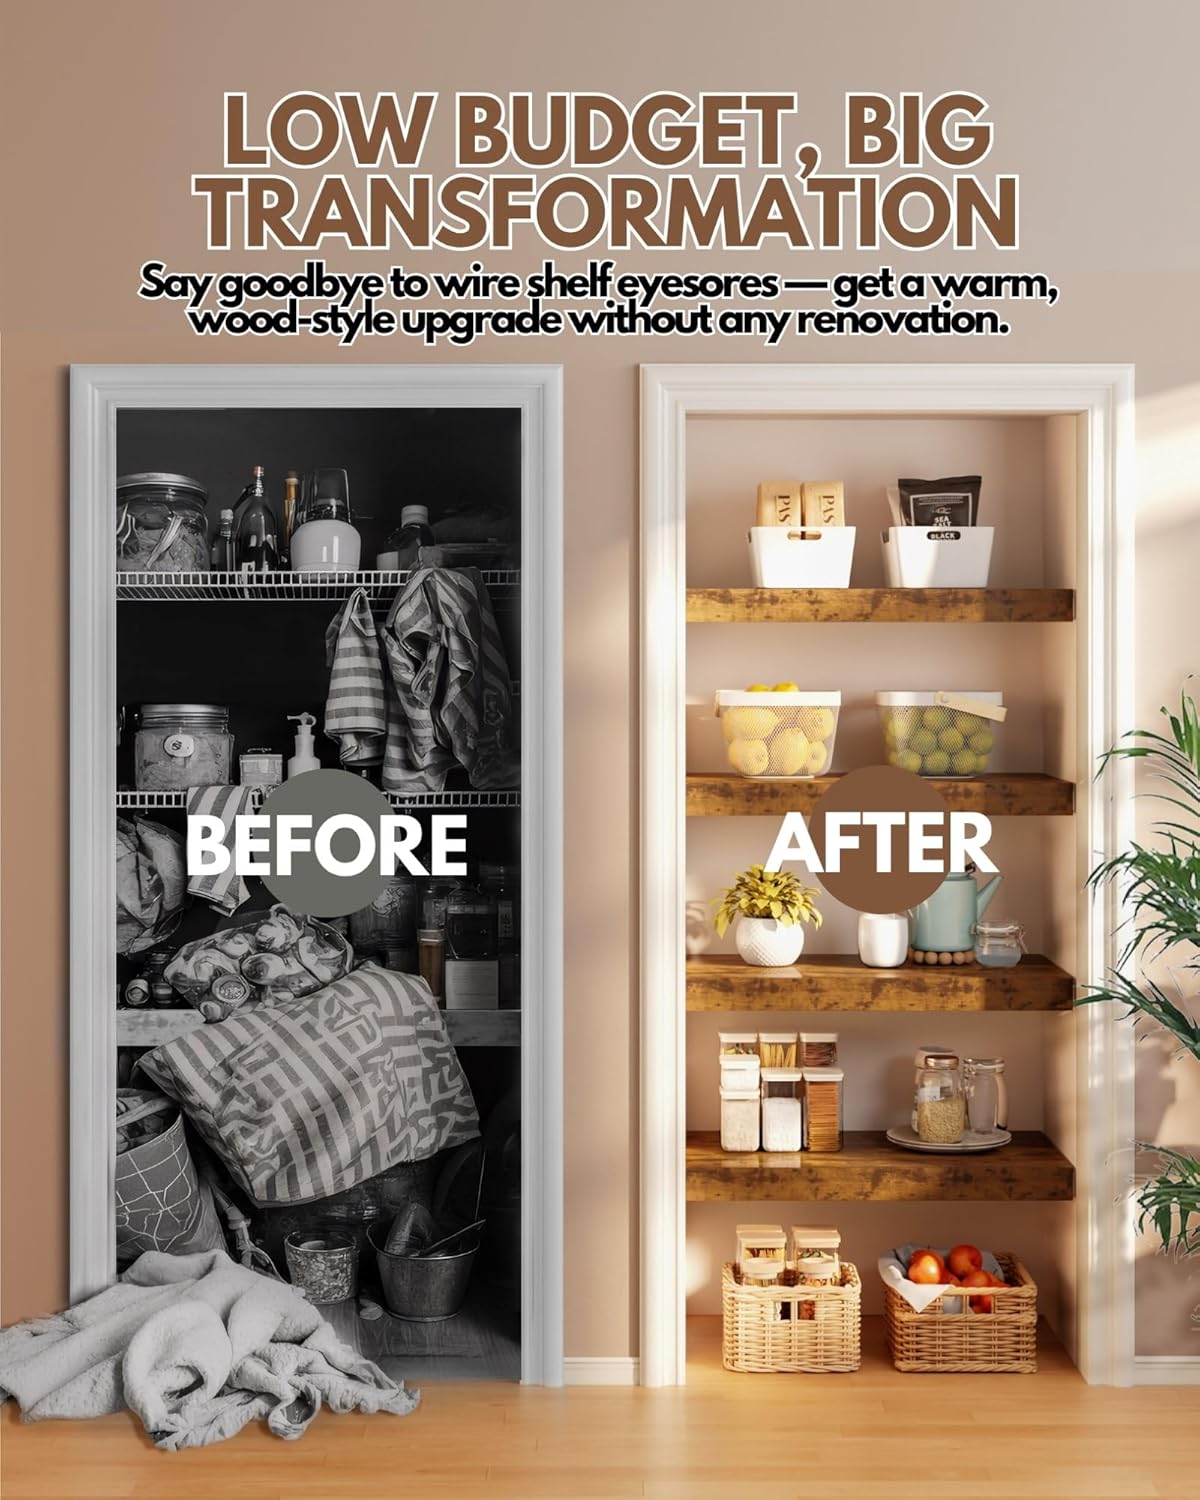
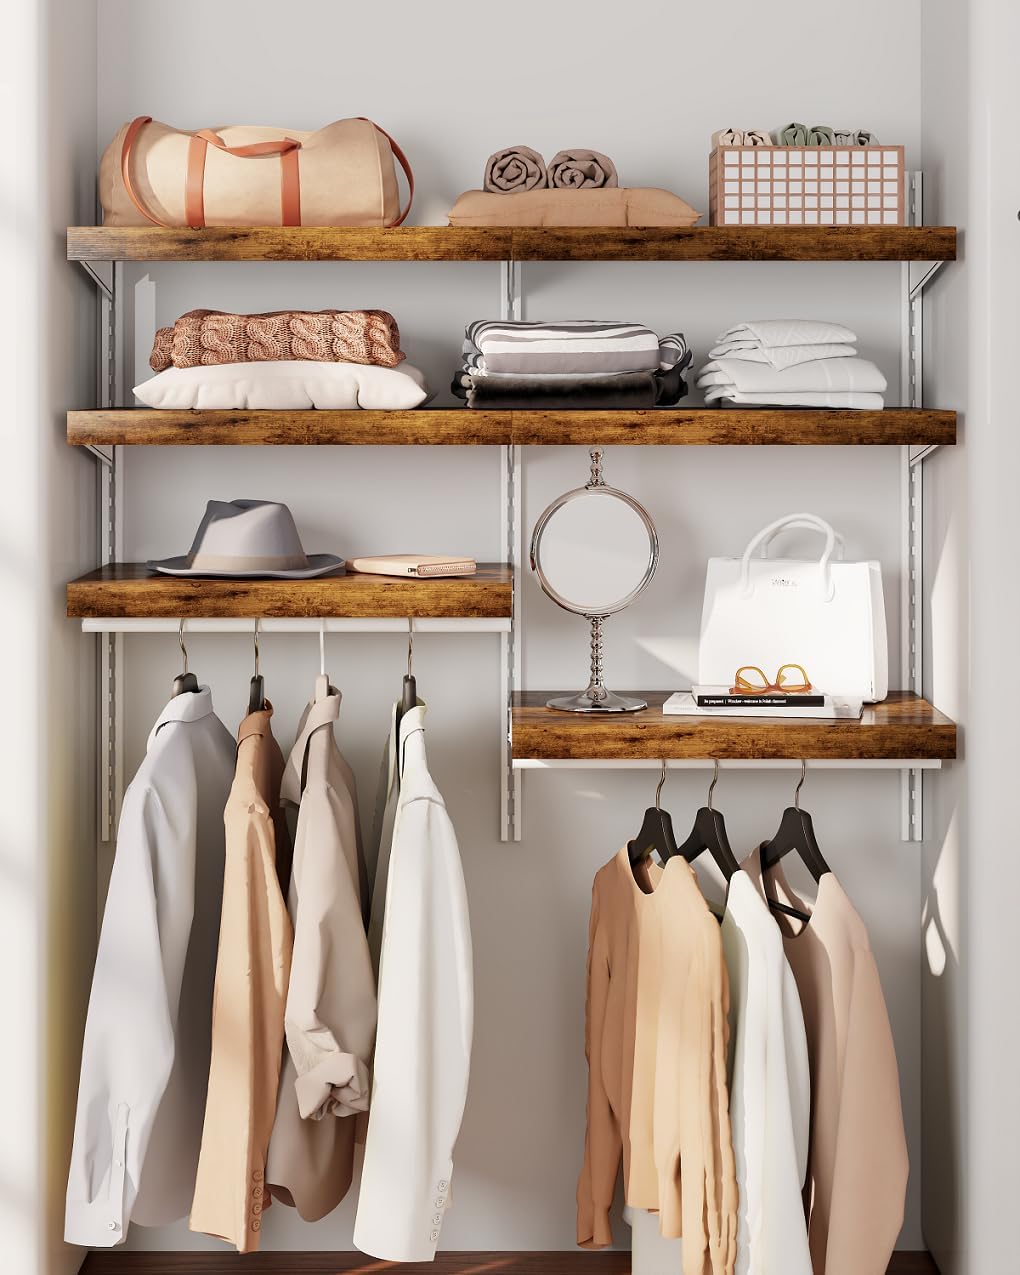
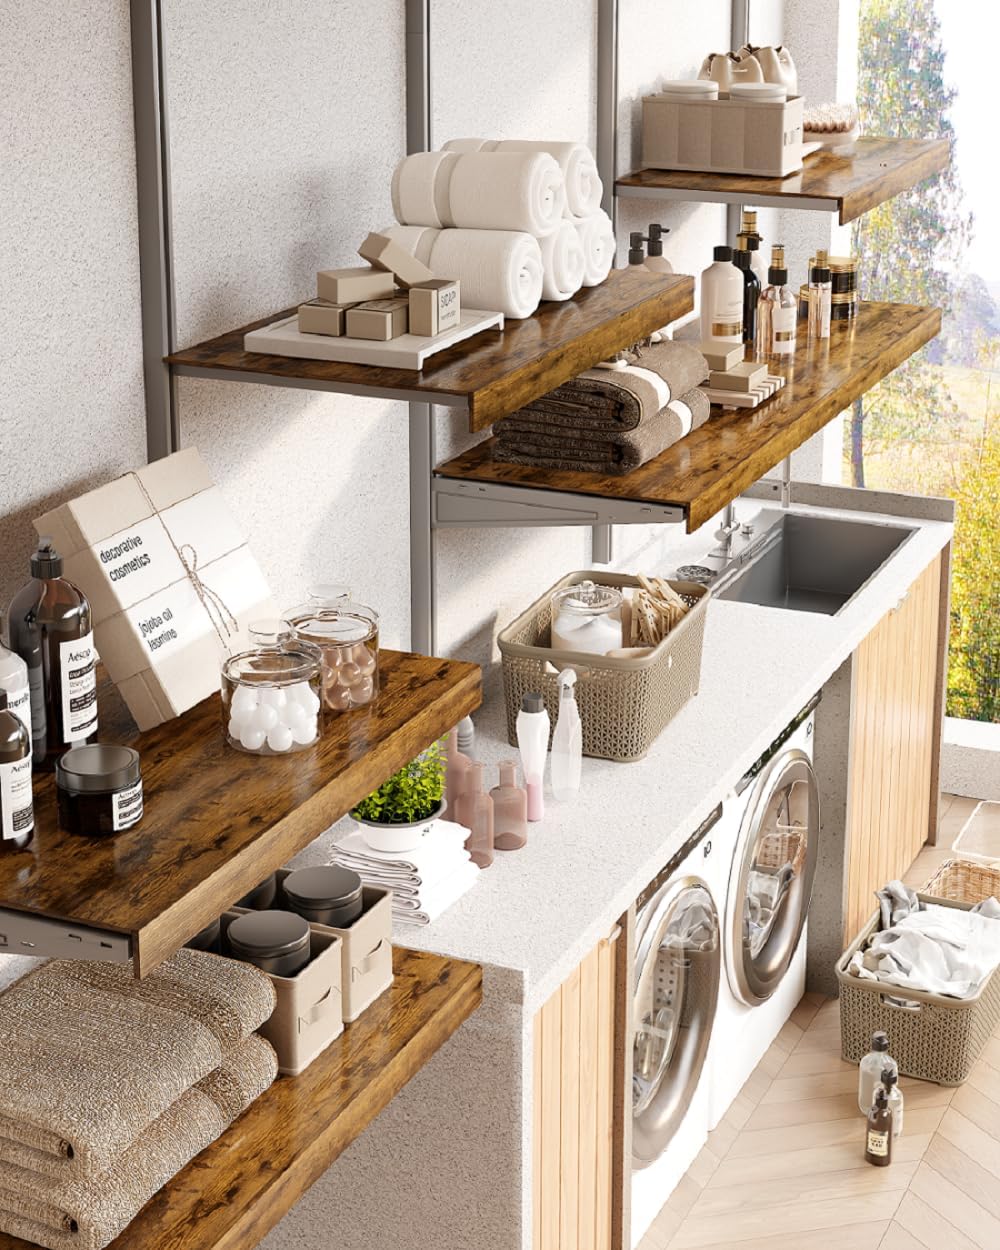
- [Rustic Look, No Renovation]: Transform cluttered Wire Shelving into stylish wood-style storage — no remodeling needed. These removable, reusable shelf covers are perfect for renters and frequent movers
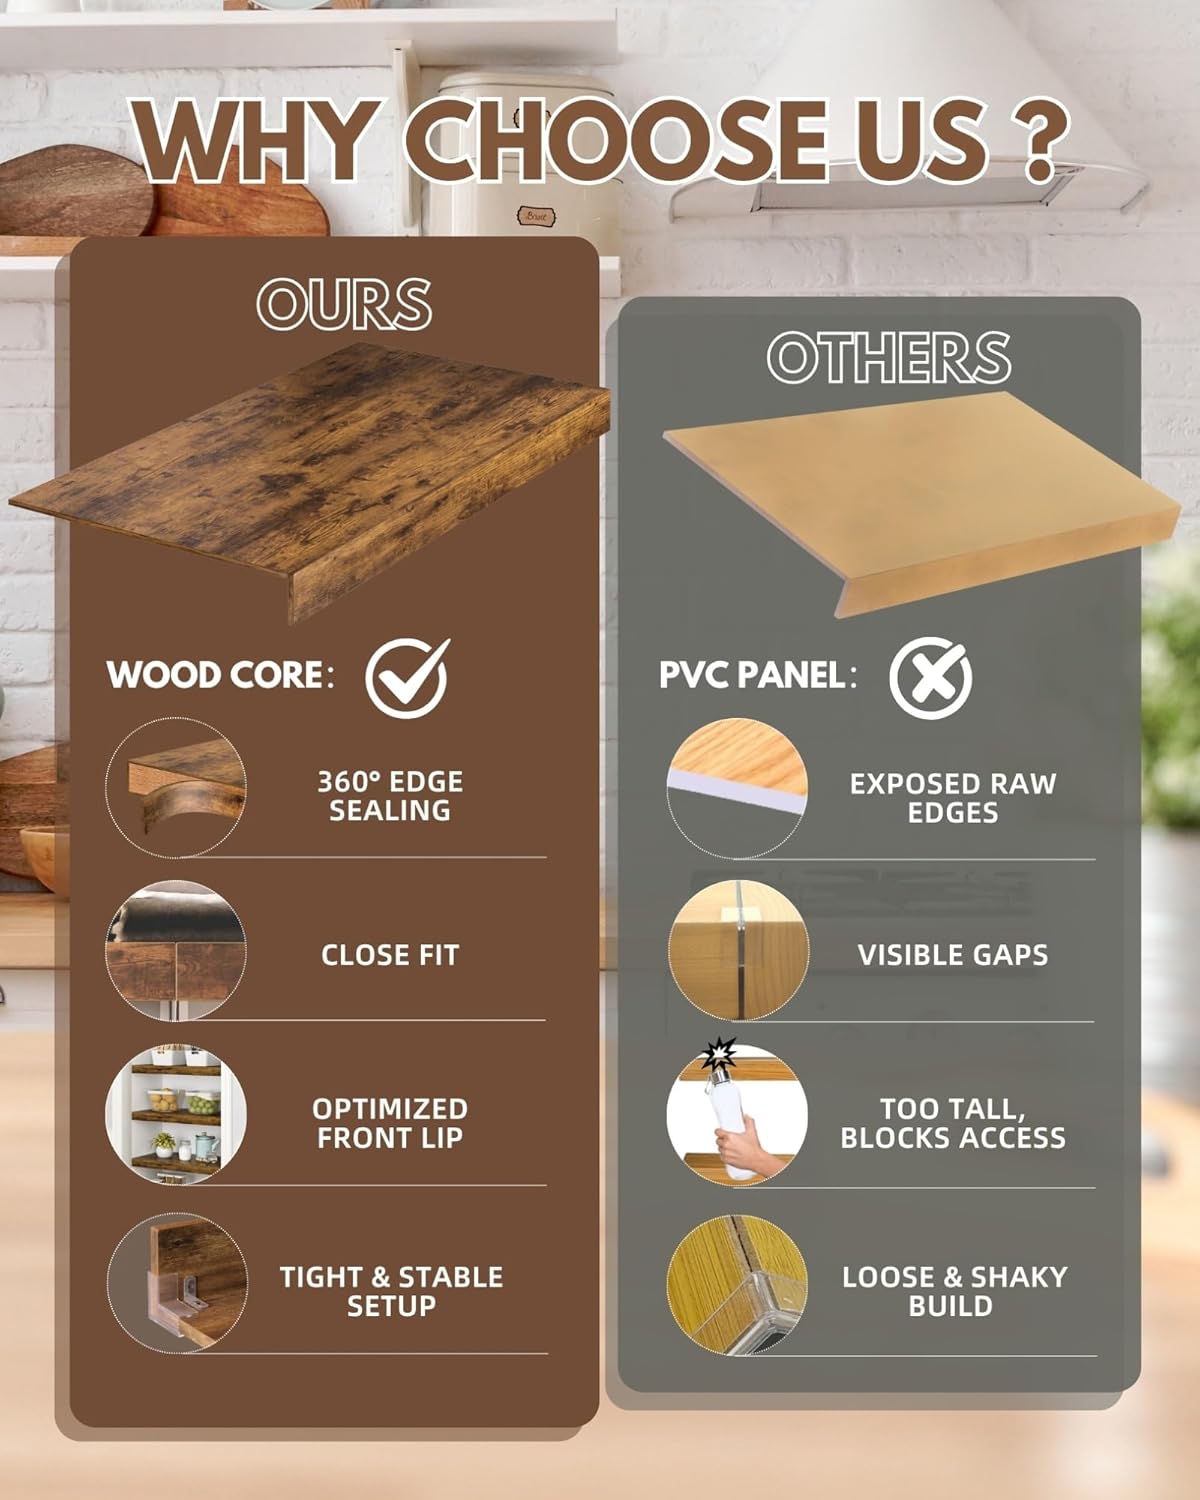
- [Refined, Sealed Finish]: Each wire shelf cover is hand-finished with smooth, 360° sealed edges — no sharp corners. Moisture- and stain-resistant coating ensures easy cleaning and long-lasting beauty
- [Secure, Simple Assembly]: Install in just two quick steps using a screwdriver. Metal brackets firmly connect panels, creating a tighter and more stable front lip than clip-on boards. Video included
- [Fits Most Wire Shelves]: Available in 4- or 5-piece sets across 8 total sizes. Designed to fit pantry, linen closet, kitchen, laundry room, utility, garage, or wall-mounted wire shelf — tight seams reduce visible gaps


| Size | 27"W × 16"D |
|---|---|
| Color | Aged Walnut |
| Shape | Rectangular |
| Room Type | Closet, Garage, Kitchen, Laundry Room, Pantry |
| Brand Name | Makentra |
| Model Name | WRC-W01-2716 |
| Shelf Type | Accent Shelf |
| Style Name | Country Rustic |
| Unit Count | 4.0 Count |
| Item Weight | 14.5 Pounds |
| Finish Types | Laminated |
| Manufacturer | Makentra |
| Model Number | WRC-W01-2716 |
| Product Name | Shelf Covers for Wire Shelving, wire rack cover, wire shelf cover |
| Material Type | Engineered Wood |
| Mounting Type | Assembly Only — No Shelf Mounting |
| Item Dimensions | 16 x 27 x 2.5 inches |
| Number of Items | 4 |
| Furniture Finish | Melamine |
| Installation Type | Place-on Wire Shelf |
| Number Of Shelves | 4 |
| Required Assembly | Yes |
| Additional Features | Detachable, Wooden |
| Included Components | ①Metal L brackets and Screws ②L-shaped Plastic Clips ③Magnetic Screwdriver |
| Shelf Bracket Shape | Straight |
| Manufacturer Part Number | WRC-W01-2716 |
| Item Dimensions D x W x H | 16"D x 27"W x 2.5"H |
| Product Care Instructions | ① Wipe clean with a soft damp cloth. ② Avoid prolonged exposure to water. ③ Do not use abrasive cleaners or scrubbing tools. |
| Specific Uses For Product | Decorative Items |
| Recommended Uses For Product | Closet Shelf Covers, Garage Wire Racks, Laundry Room Organization, Pantry Wire Shelving, Utility Storage Shelves |
| Assembly Instructions Description | Step 1 – Connect the Boards Lay Board A flat. Place Board B upright along the front edge of Board A (90° angle). Use the L-shaped plastic clips on both sides to hold the boards together. Step 2 – Attach Metal Brackets Align the 3 metal L brackets with the pre-drilled holes. Fasten each bracket with 4 screws using a screwdriver. Ensure the brackets sit flush with the boards. Step 3 – (Optional) You may remove the plastic clips after assembly or leave them for extra stability. |
Bestseller ranking
Shelf Liners


Correction of product information
If you notice any omissions or errors in the product information on this page, please use the correction request form below.
Correction Request Form