


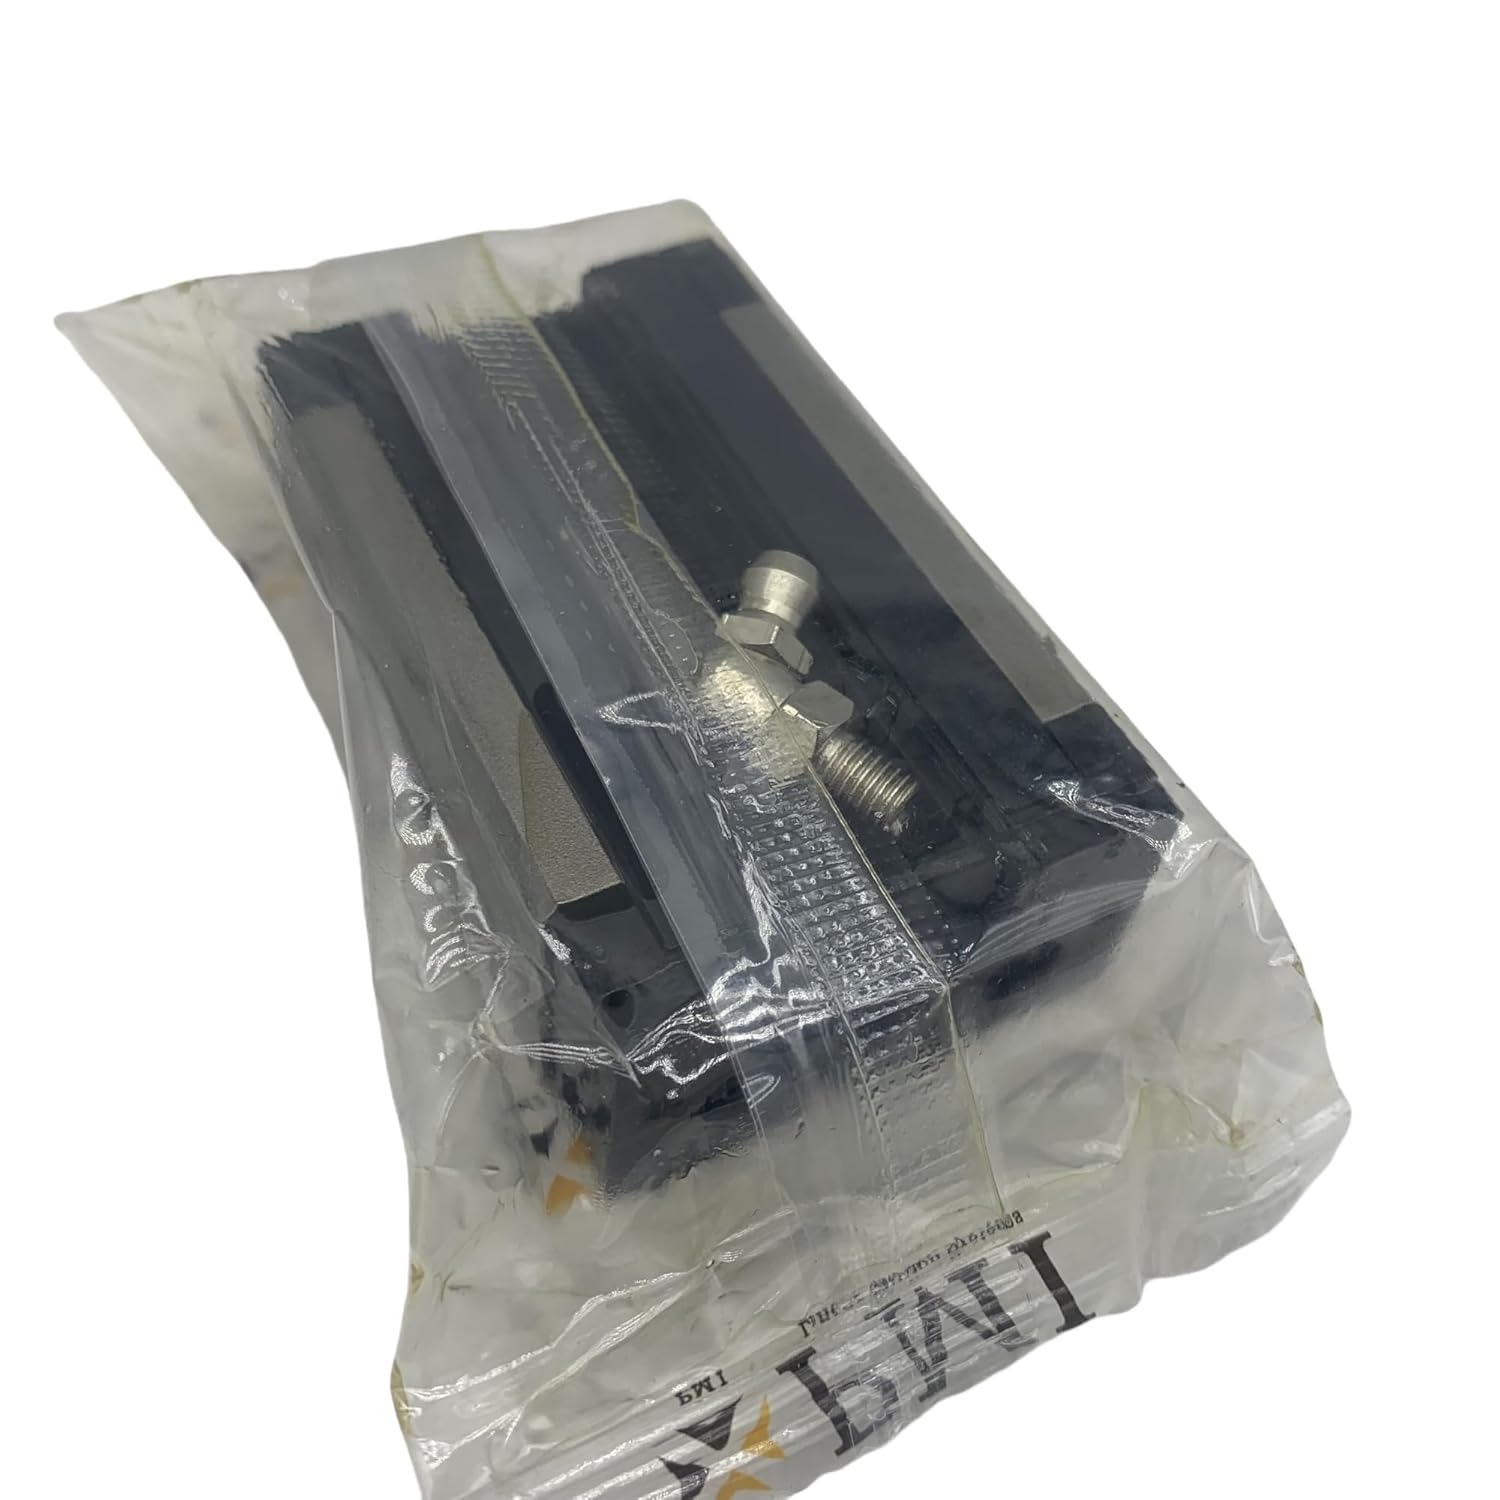


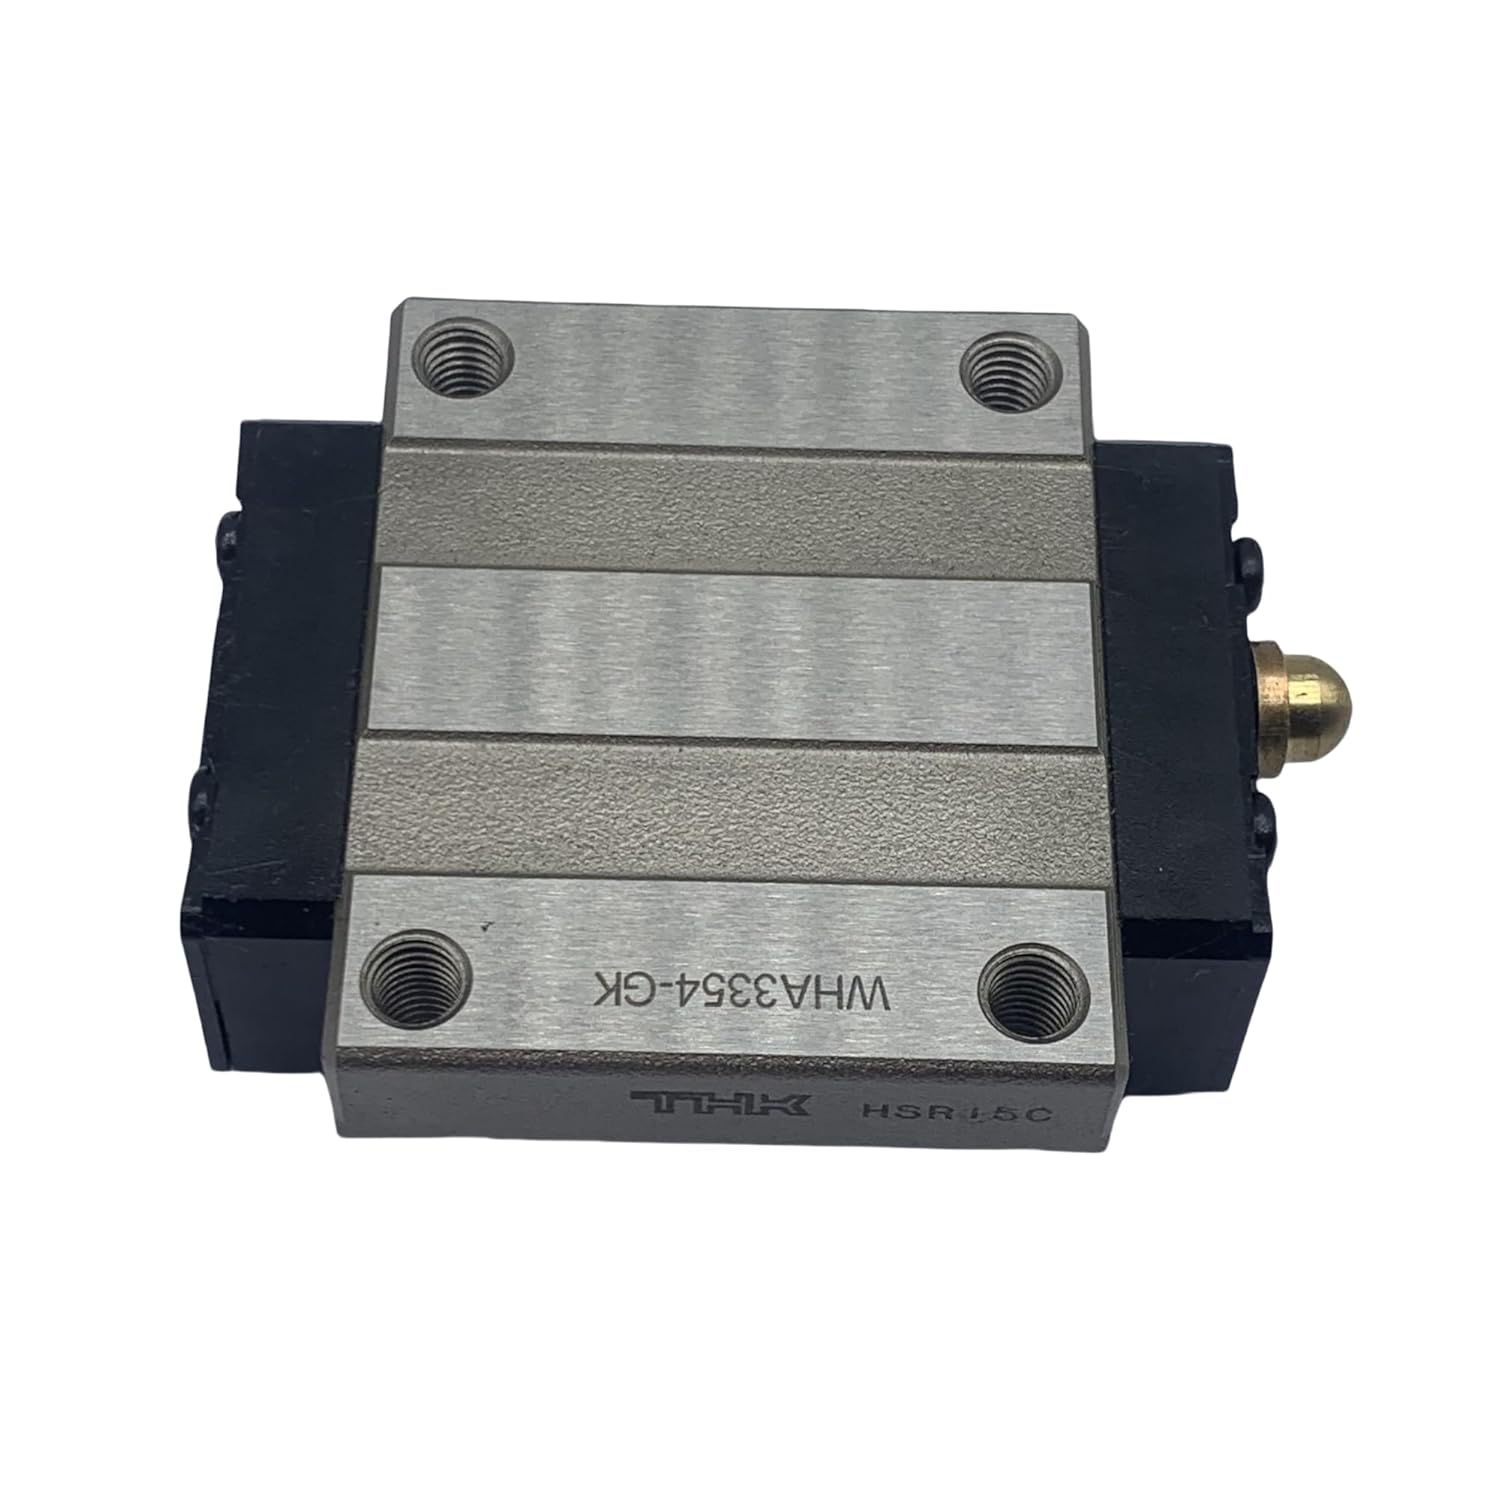
Original New PMI Linear Guides MSB20S MSB20 MSB20SSSFCN/F0N MSB20S-N,Height 22mm,Width 42mm,Length 67mm,Combination Height 28mm,Blocks Rails Slider Bearings Carriage Guideway Motion Control

 4.0 (77 items)
 Limited Time Sale
$22.20 cheaper than the new price!!
Free cash-on-delivery fees for purchases over $99
Product details
| Management number | 211200760 | Release Date | 2026/04/04 | List Price | $14.80 | Model Number | 211200760 | ||
|---|---|---|---|---|---|---|---|---|---|
| Category | |||||||||
The trains of balls are designed to a contact angle of 45° which enables it to bear an equal load in radial, reversed radial and lateral directions. Therefore, it can be applied in any installation direction. Furthermore, MSB series can achieve a well balanced preload for increasing rigidity in four directions while keeping a low frictional resistance. This is especially suit to high precision and high rigidity required motion. The patent design of lubrication route makes the lubricant evenly distribute in each circulation loop. Therefore, the optimum lubrication can be achieved in any installation direction, and this promotes the performance in running accuracy, service life, and reliability. Proper Installation of Linear Guides In this section, we’ll explain in detail how to install linear guides in linear type applications. Step 1: Before mounting the linear guides, a highly recommended advice is to clean up all rough edges and contaminate objects. Important: Datum lines of linear guides are normally composed of antirust. So, brush the antirust with a cleanser before positioning. Spraying some low coherence grease can preserve the datum plane. Step 2: Place the linear guide on the base and secure it with the drive screw or other appliances, so it sits properly on the datum line nicely. Important: Don’t forget to examine the adjustment of the screw holes before tightening them. Tightening the screw forcefully can unalign the screw holes, which influences the accuracy and quality due to offset. Step 3: Sequentially fasten the bolts to make the rail more steady. Push the track against the datum line gently to improve the connection between them. Step 4: Through a torque wrench, tighten the bolts from the centre to both edges. Step 5: Repeat similar strides for installing the auxiliary rail and then install the slides on the rail independently. Don’t forget to gather all adornments, like lubricant fitting, grease fitting and seals in this stage. Otherwise, later on, it gets hard to gather the adornments because of less space. Step 6: Locate the table smoothly on the slides on both main and subsidiary rails. Step 7: Tighten the perpendicular thrust screw to settle the table and attach the table screws in the sequence.
- MSB-TS/S Square type with smaller width and can be installed from top side of carriage.
- Rails available:We can cut rails as your request,50-3000MM
- High Rigidity, Four-way Equal Load
- Self Alignment Capability
- Smooth Movement with Low Noise and Interchangeability
| Item Weight | 9.2 ounces |
|---|---|
| Manufacturer | AEDNX |
| Item model number | MSB20S |
| Product Dimensions | 2.64 x 1.65 x 0.87 inches |
Bestseller ranking
Linear Motion Guides


Customers who viewed this product also viewed
NES


Correction of product information
If you notice any omissions or errors in the product information on this page, please use the correction request form below.
Correction Request Form