


New
Arrivals/Restock
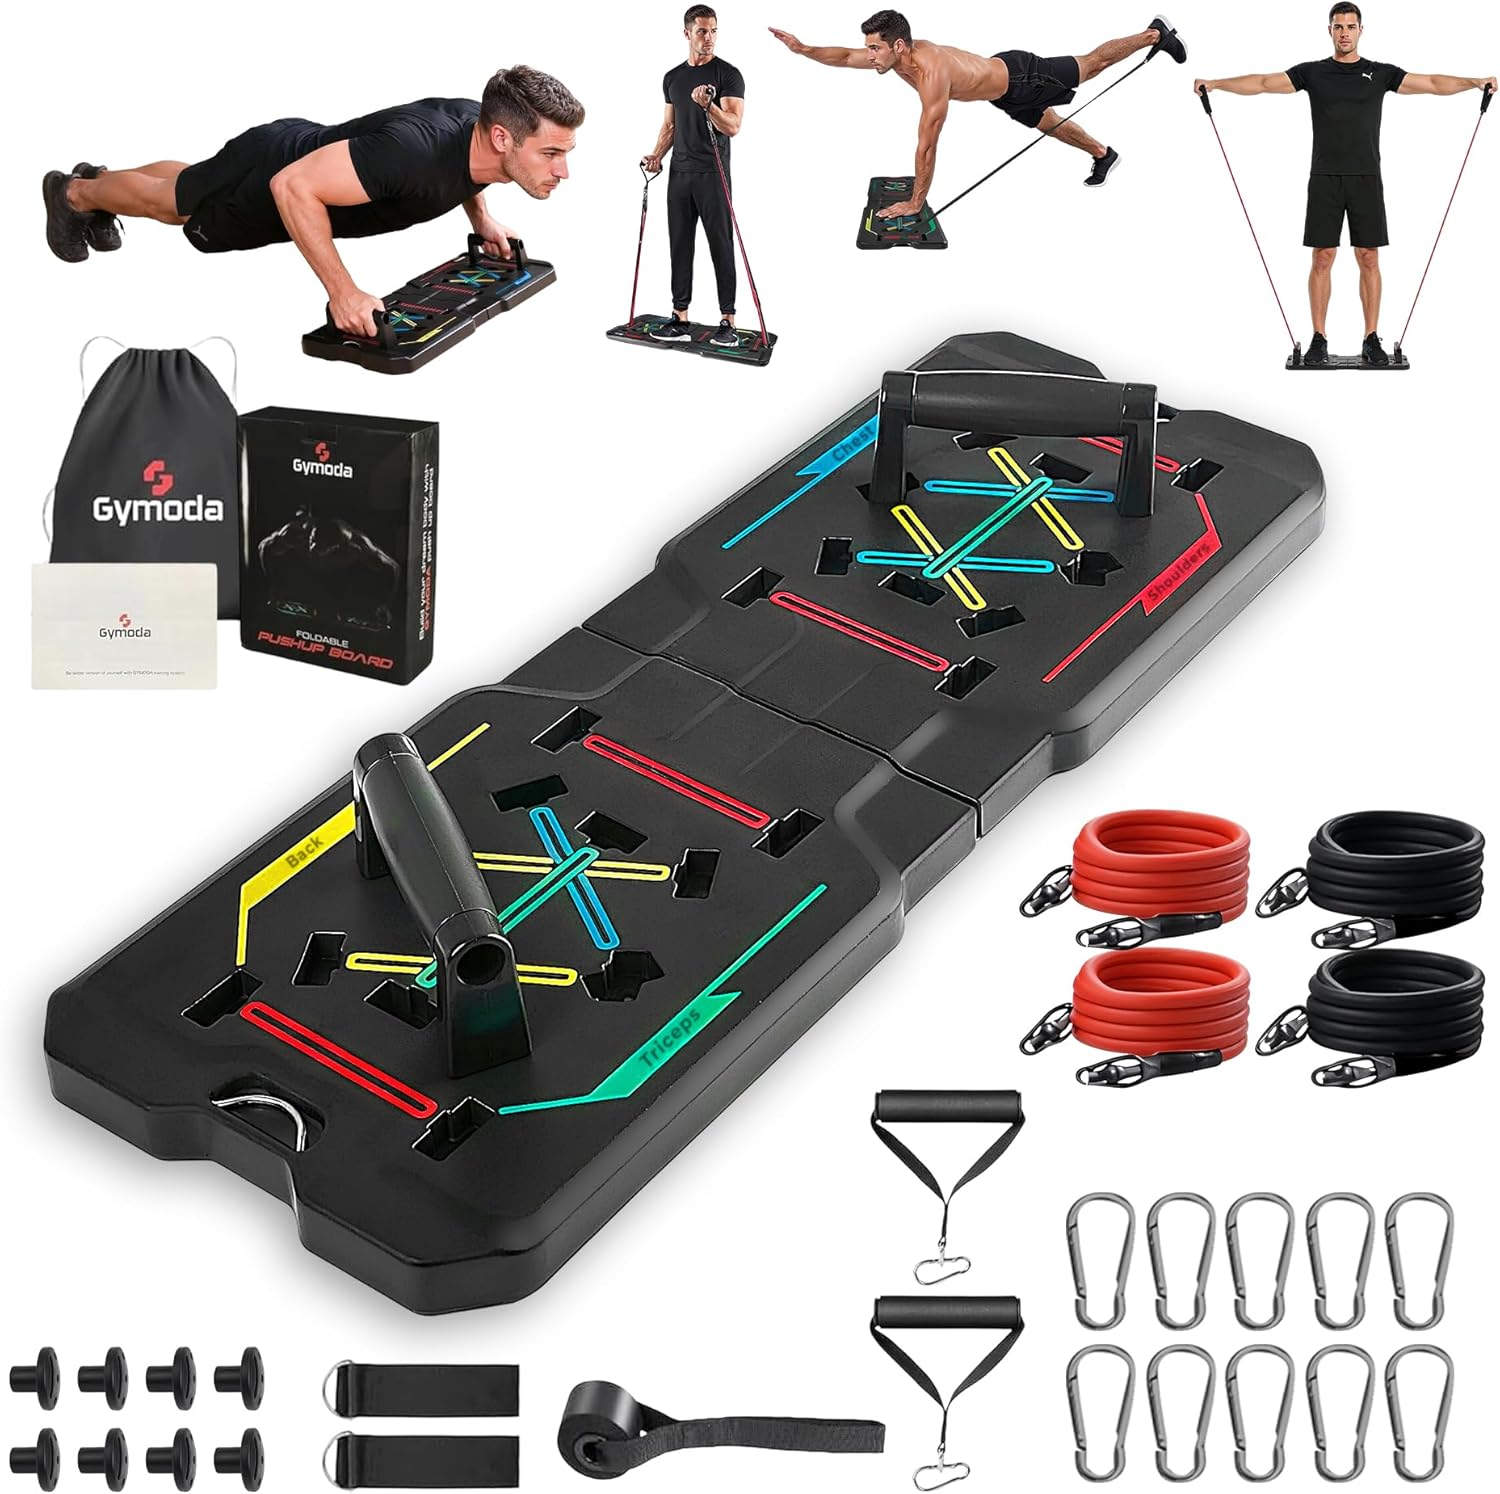


Push Up Board – Portable 14-in-1 Home Workout System for Chest, Arms, Back & Core – Color-Coded, Anti-Slip, Foldable Board for Men & Women
 5.0 (122 items)
 Limited Time Sale
Until the end
19
10
26
$33.00 cheaper than the new price!!
Free shipping for purchases over $99 ( Details )
Free cash-on-delivery fees for purchases over $99
Free cash-on-delivery fees for purchases over $99
See all stores
Please note that the sales price and tax displayed may differ between online and in-store. Also, the product may be out of stock in-store.
New $55.00
Product details
| Management number | 210504998 | Release Date | 2026/04/02 | List Price | $22.00 | Model Number | 210504998 | ||
|---|---|---|---|---|---|---|---|---|---|
| Category | |||||||||
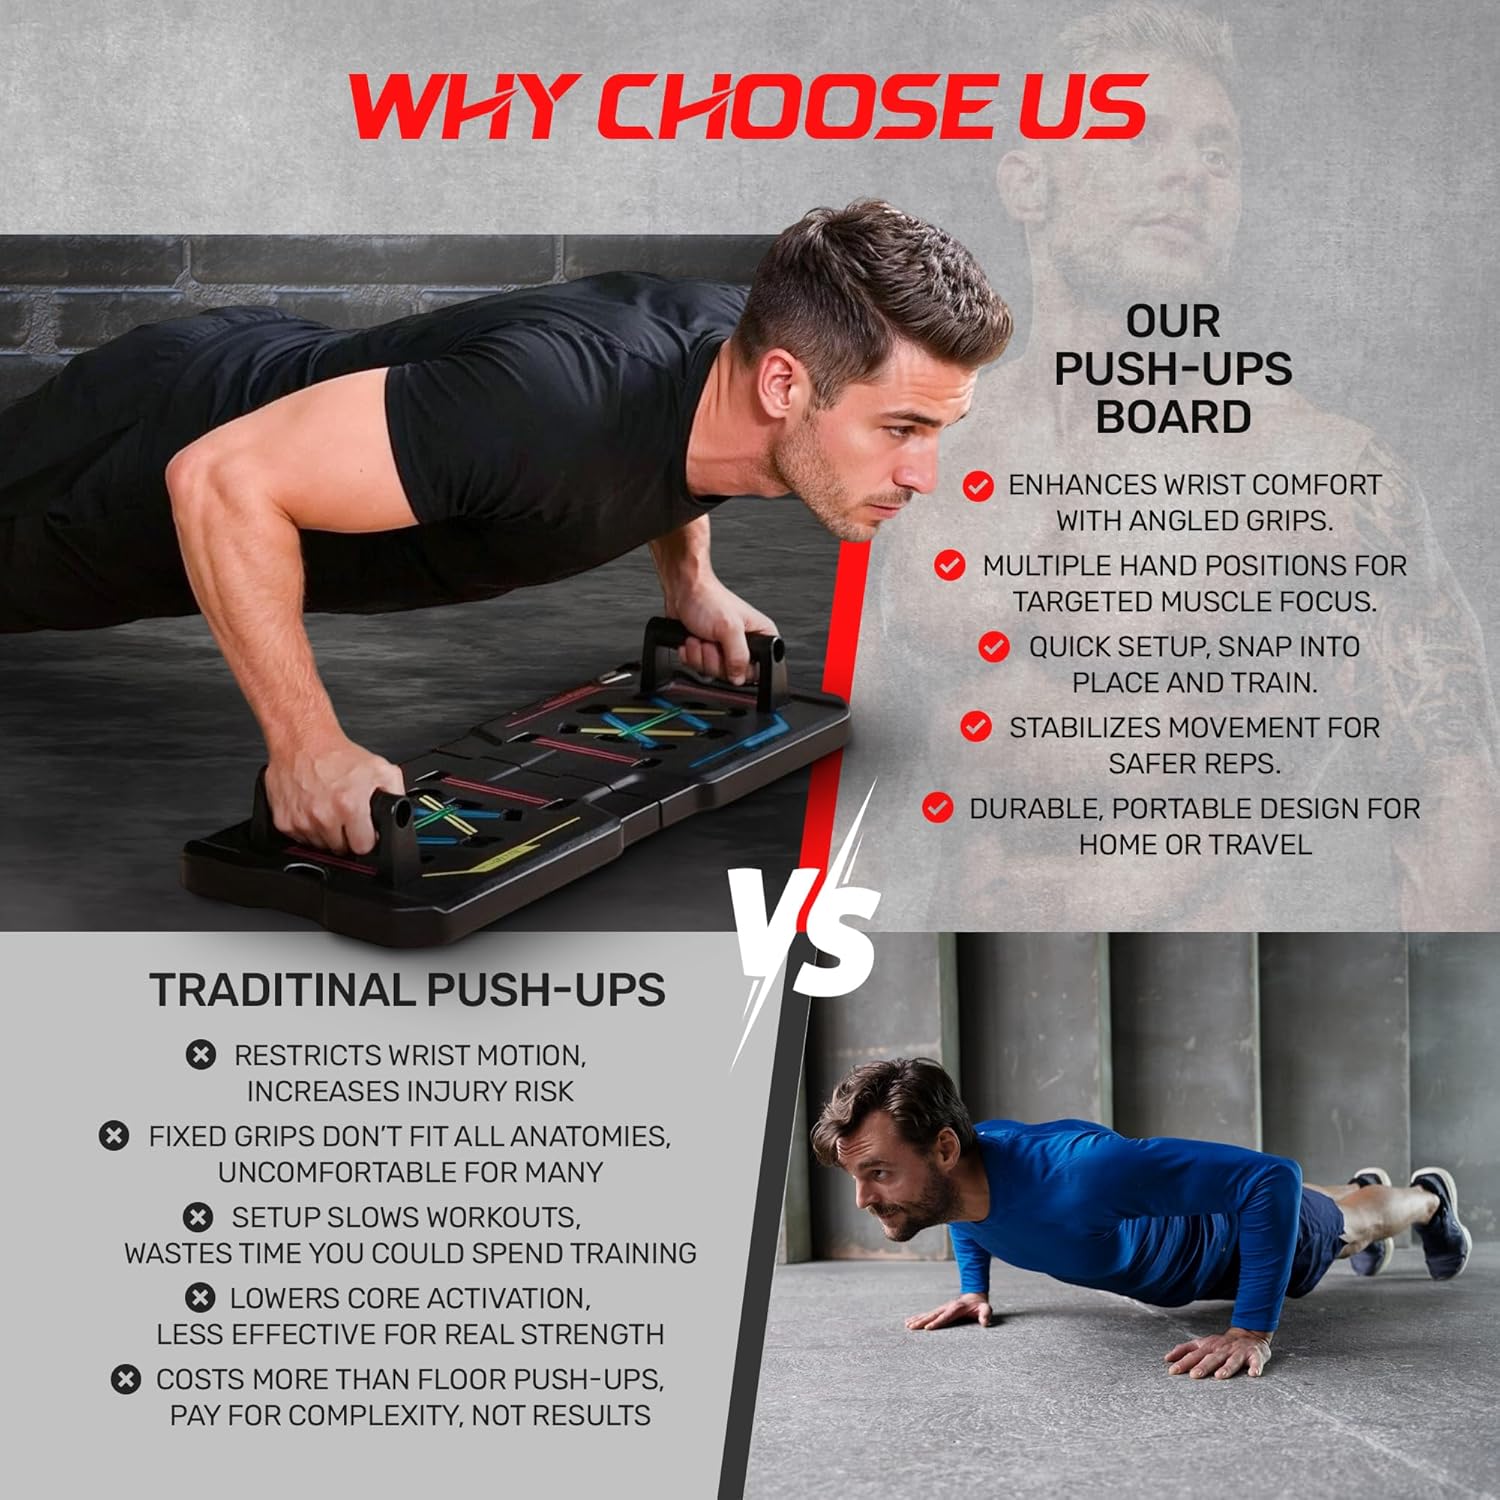
- TARGET MULTIPLE MUSCLE GROUPS – Color-coded system helps focus on chest, shoulders, back, and triceps
- COMPLETE HOME GYM SYSTEM – One board replaces multiple workout tools
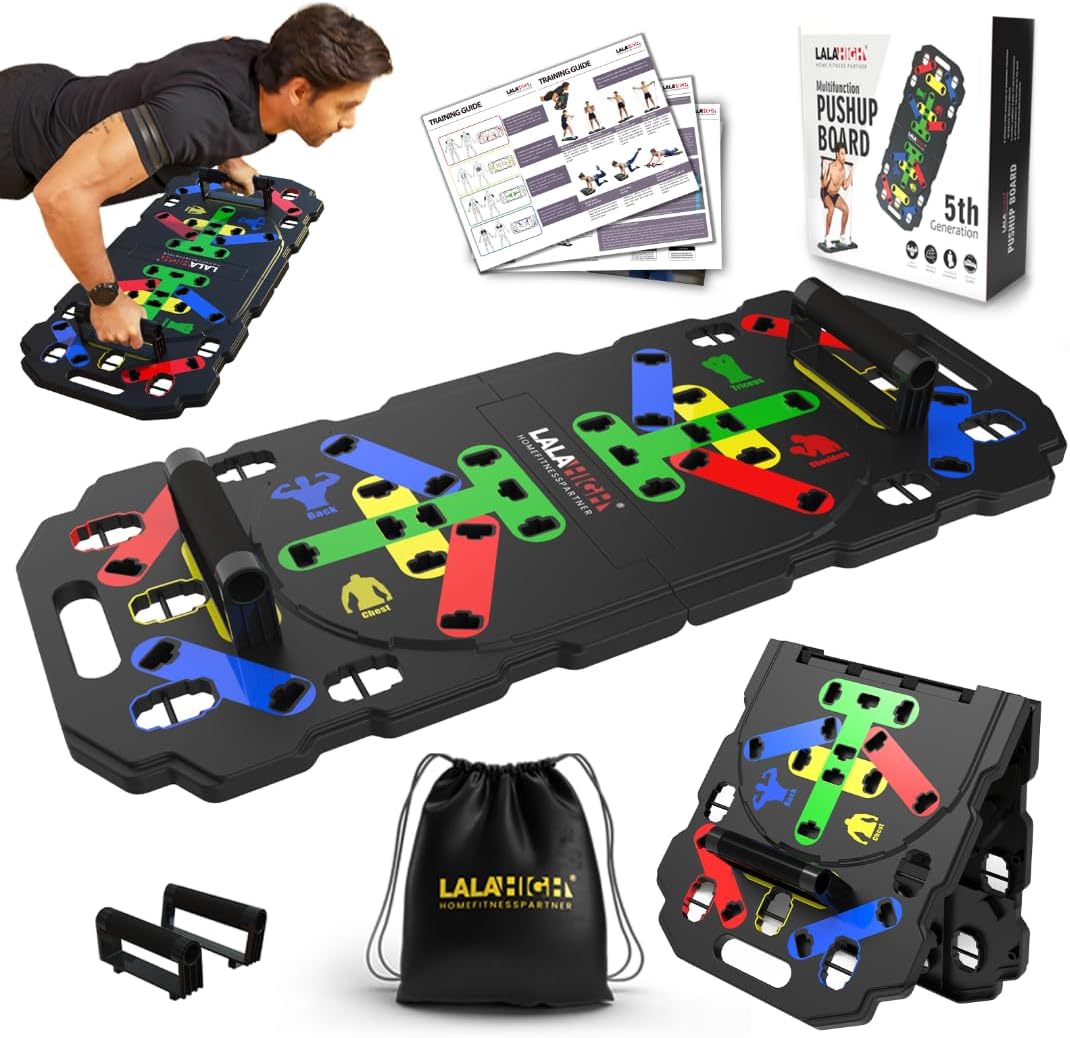
- FOLDABLE & PORTABLE DESIGN – Easy to store and carry anywhere
- NON-SLIP & DURABLE BUILD – Stable support for safe workouts
- FOR ALL FITNESS LEVELS – Suitable for beginners and advanced users
| UPC | 198168697450 |
|---|---|
| Color | Black |
| Material | Acrylonitrile Butadiene Styrene (ABS), Plastic |
| Brand Name | GYMODA |
| Handle Type | Ergonomic, Snap-fit soft rubber handles |
| Item Weight | 4.4 Pounds |
| Part Number | GM-001 |
| Manufacturer | GYMODA |
| Model Number | GM-001 |
| Warranty Type | No warranty |
| Included Components | 1 × Multifunctional Color-Coded Push-Up Board, 1 × carrying bag, 1 × instructions manual, 1 × pack of Anti-Slip Rubber, 2 × Dynamic Push-Up Handles (Ergonomic Grip) |
| Item Dimensions L x W x H | 28.8"L x 11.42"W x 4.25"H |
| Maximum Weight Recommendation | 150 Kilograms |
| Assembly Instructions Description | Assembly & Setup Instructions — Multifunctional Push-Up Board Estimated time: 5–10 minutes Tools required: None Parts included (check before assembling): 1 × Foldable push-up board (main board, folded) 2 × Ergonomic handles (left & right) with locking pegs 4–6 × Rubber feet (may be pre-installed) 1 × Quick-start instruction card / color chart 1 × Carry bag (optional) Safety first: Place the board on a flat, dry surface. Inspect parts for damage before use. Keep away from children when assembling. If any part is damaged or missing, do not use — contact seller. Step-by-Step Assembly Unpack & Inspect Remove all packaging. Verify items against the parts list. Wipe off dust. Open the Board Lay the folded board on the floor with the hinge side toward you. Push gently at the center to unfold until both halves lie flat and lock into place. You should hear/feel a click if there is a locking hinge. Check the Rubber Feet Make sure the anti-slip rubber feet are properly attached under each corner. If they are loose, press them firmly into the matching sockets until they snap in. Locate the Color-Coded Positions Flip the board so the top surface faces up. You’ll see color-coded slots (e.g., red, blue, green, yellow) and matching printed muscle targets on the quick-start chart. Familiarize yourself with the chart. Prepare the Handles Each handle has a locking peg on the underside. Confirm each peg is clean and straight. The handles should be labeled or shaped for left/right (if so, align accordingly). Insert Handles — Starting Position Choose the desired color slot for your workout (refer to the color chart). Align the handle peg with the slot opening at a slight angle. Insert the peg straight down until it seats fully in the slot. Lock the Handles Press the handle down firmly until you hear/feel it click or lock. Tug gently (light pull) to ensure it is secure and will not pop out during exercise. Repeat for Opposite Side Insert the second handle into the opposing color slot that corresponds to the selected exercise. Confirm both handles are symmetrical and locked. Quick Stability Test Place one hand on each handle and apply body weight slowly to test for movement. The board should not wobble; rubber feet should grip the floor. If it slips, reposition or move to a more stable surface. Adjusting for Different Exercises To change muscle targets, remove handles by pressing the release (if present) or pulling straight up while wiggling slightly, then reinsert into the new color slots. Always lock handles before use. Folding the Board for Storage Remove both handles and store them in the included carry bag or handle recess. Fold the board along the hinge and press until it clicks shut. Store in a dry place away from direct sunlight. |
Bestseller ranking
Pushup Stands


Correction of product information
If you notice any omissions or errors in the product information on this page, please use the correction request form below.
Correction Request Form